How I fixed my Samsung LN32A450
when it went all white photo negative on me

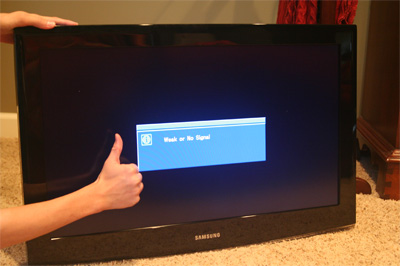
As my 6 yr old neice would say, "Winner, winner, chicken dinner!"
How I fixed my Samsung LN32A450
|
|
| page 3 | page 1 2 3 |
|
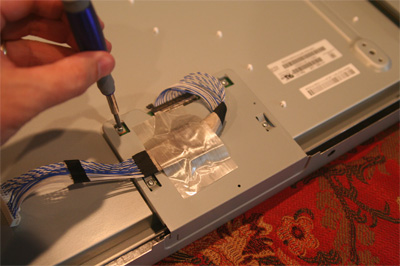
Lastly, before I got to the holy grail of circuit boards, I removed these 4 screws... |
|
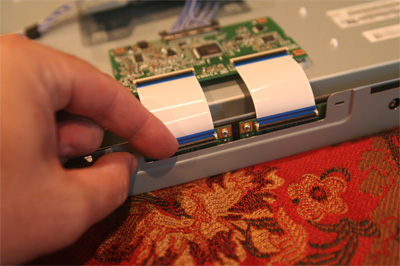
...revealing these 2 ribbon cables. I clicked the 2 tiny black bars down ... |
|
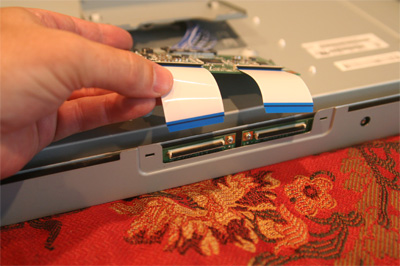
... and slid the ribbon cables out. |
|
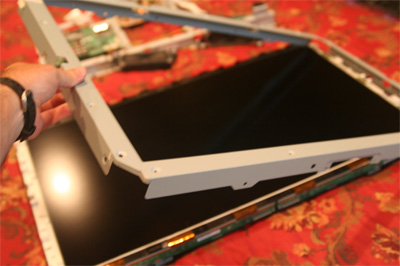
The frame then slid right off revealing... |
|
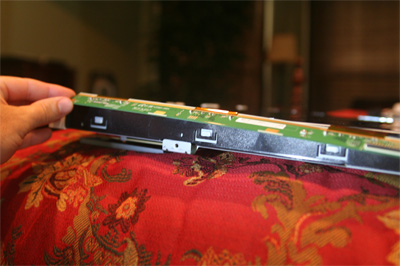
... the 2 offending circuit boards. If you are keeping score at home, when looking at the tv they are located on the bottom of the screen |
|
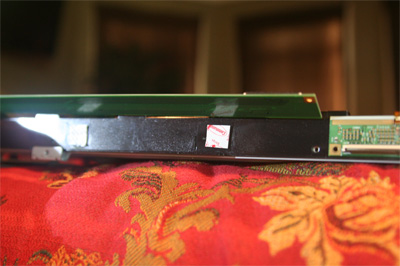
There are a couple screws holding each circuit board down. I unscrewed them and tilted up the circuit boards exposing the 3 metal doohickies on each side. Apparently the whole problem is over time the boards settle/bend/spontaneously move back and touch one of these metal pieces causing the white photo negative screens of dispair. |
|
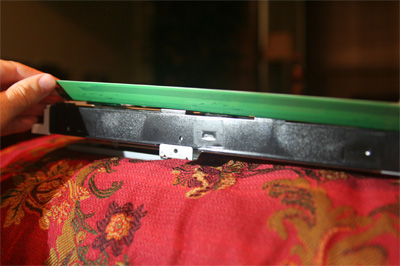
Since 1 person said they fixed their set by putting tape over the metal, I put tape (more specifically electrical tape) over the metal. |
|
And since a different person said they used a piece of felt like you'd put under a chair to fix their tv, I found a piece of foam type tape and put it on over the electrical tape. In summary, I went with both methods. I was taking no chances! It seems silly and completely unnecessary now but at the time I would have patted my head and rubbed my belly if I thought it would have helped. |
|
I then put everything back together (With no extra pieces left over, woohoo!) and fired it up. As my 6 yr old neice would say, "Winner, winner, chicken dinner!" |
| page 1 2 3 | |